
Transform Trash into Treasure: DIY Wall Art from Recycled Materials
Are you looking for a creative way to add personality and sustainability to your home decor? Look no further! In this blog post, we’ll explore how to turn everyday recyclables into stunning DIY wall art. Not only will these projects add charm to your space, but they’ll also help reduce waste. Let’s dive in!
Why Choose Recycled Materials for Wall Art?
Before we get into the nitty-gritty details, let’s discuss why recycled materials are an excellent choice for DIY wall art:
- Sustainability: Repurposing items keeps them out of landfills and reduces your carbon footprint.
- Cost-Effective: Most materials can be sourced for free or very cheaply.
- Uniqueness: Each piece will be one-of-a-kind, reflecting your personal style and creativity.
- Educational: It’s a fun way to teach kids about recycling and environmental stewardship.
Materials You’ll Need
To get started, gather these basic materials:
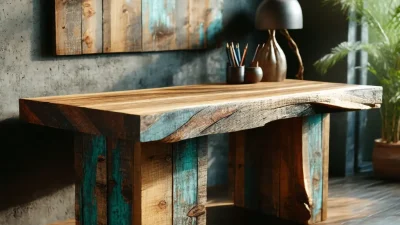
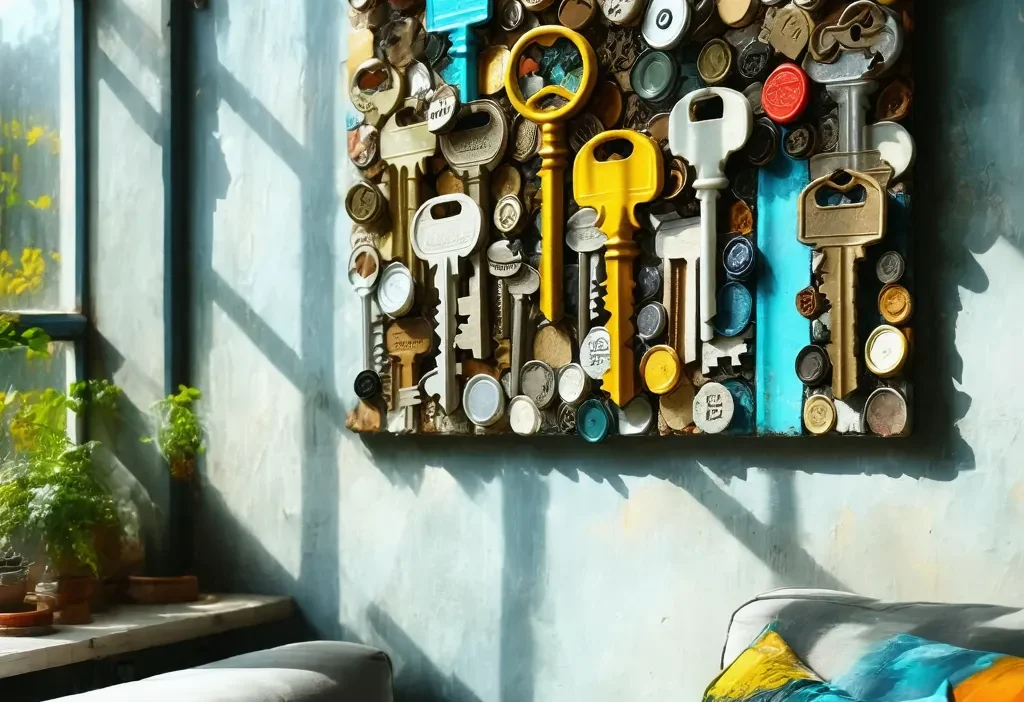
- Recyclables like cardboard, bottle caps, old keys, or scrap fabric
- Craft glue or adhesive
- Paint and brushes (optional)
- Sandpaper (for smoothing rough edges)
- A backing board (like plywood or cardboard)
- Measuring tape and scissors
Step-by-Step Guide to Creating Your Art
Now, let’s break down the process into manageable steps:
1. Plan Your Design
Spend some time sketching out your vision. Consider the size of your wall space and the materials you have on hand. Are you aiming for a abstract design or something more structured? Don’t be afraid to mix and match different materials for visual interest.
2. Prepare Your Materials
Before assembly, clean and sanitize all items. Sand rough edges of cardboard or wood to prevent splinters. If you’re painting, do so in a well-ventilated area and allow ample drying time.
3. Assemble Your Artwork
Lay out your materials on the backing board to get a sense of composition. Once satisfied, begin attaching pieces using craft glue or small nails. Work section by section to maintain control over the design.
4. Add Finishing Touches
Once everything is in place, consider adding a protective coat of clear varnish to preserve your artwork. This step is especially important if your piece will be exposed to moisture or direct sunlight.
Tips for Success
To ensure your DIY wall art project turns out beautifully:
- Start small if you’re new to crafting. A 12×12 inch piece is a great way to test your skills.
- Experiment with different textures and colors to create visual depth.
- Hang your artwork at eye level for maximum impact.
- Don’t be afraid to make mistakes—they can often lead to unexpected creative breakthroughs!
Conclusion
Creating DIY wall art from recycled materials is a rewarding way to personalize your space while contributing to environmental sustainability. Whether you’re adorning an empty wall or refreshing an outdated room, these projects offer endless possibilities for creativity and expression. So grab your tools, gather your recyclables, and let’s get crafting!
Have you tried making DIY wall art before? Share your experiences in the comments below—we’d love to hear from you!