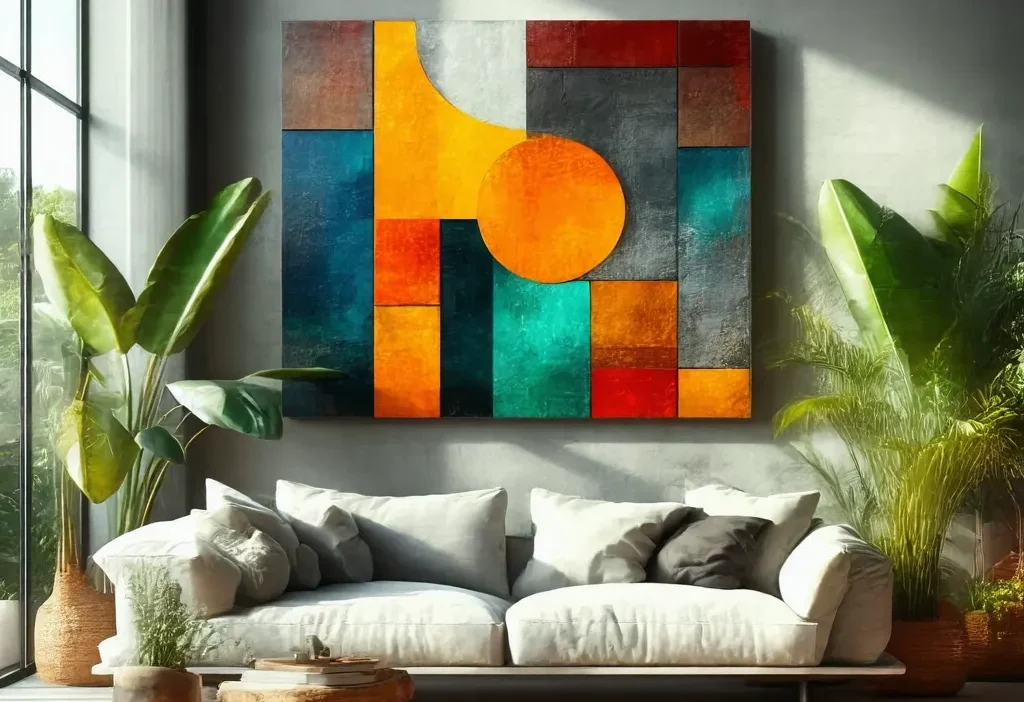
Create Your Own Masterpiece: A Comprehensive Guide to DIY Wall Art
Are you tired of generic decor that doesn’t reflect your personality? Why not create something unique and meaningful with DIY wall art? This guide will walk you through the process, from choosing your materials to hanging your finished piece. Whether you’re a novice or an experienced crafter, there’s something here for everyone.
Why DIY Wall Art?
DIY wall art isn’t just about decorating; it’s about expressing yourself. It allows you to infuse your space with personal stories, hobbies, and passions. Plus, it’s a fantastic way to add character to any room without breaking the bank. Here are some reasons to give it a try:
- Customizable: Tailor every aspect to suit your style.
- Affordable: Use materials you already have or find cheap alternatives.
- Satisfying: There’s nothing quite like seeing your creation on the wall.
Tools and Materials You’ll Need
Before diving in, gather your supplies. Here’s a list of essentials:
- Canvas or木板: Start with a sturdy base.
- Paints and Brushes: Acrylics are versatile and dry quickly.
- Decorative Elements: Think beads, ribbons, or even found objects like shells or buttons.
- Adhesives: For attaching heavier decorations, use a strong adhesive like Loctite.
- Sandpaper: To smooth out any rough edges or surfaces.
Step-by-Step Guide to Creating Your Art
Let’s get started! Follow these steps to create your very own DIY wall art:
- Plan Your Design: Sketch out ideas or look for inspiration online. Websites like Pinterest are great for visual ideas.
- Prepare Your Base: Sand your canvas or wood panel until smooth, then wipe clean with a damp cloth.
- Apply a Base Coat: Use acrylic paint to cover the entire surface. Let it dry completely before moving on.
- Add Details: Paint patterns, draw shapes, or collage images. Get creative!
- Incorporate Decorative Elements: Attach beads, buttons, or other embellishments while the paint is still wet for a seamless look.
- Let It Cure: Allow your artwork to dry thoroughly, preferably overnight.
- Hang Your Creation: Use picture hooks and wires to hang your masterpiece. Ensure the wall is prepared with appropriate anchors if needed.
Tips for Success
Creating DIY wall art can be a fun and rewarding experience, but it’s not without its challenges. Here are some tips to help you along:
- Start Small: If you’re new, begin with a smaller project to get the hang of techniques.
- Experiment: Don’t be afraid to mix mediums or try unconventional materials.
- Protect Your Work: Once your art is complete, consider applying a clear coat spray like Mod Podge to protect it from dust and moisture.
Common Mistakes to Avoid
Even the most experienced crafters make mistakes. Here’s how to avoid some common pitfalls:
- Overloading: Too many decorations can overwhelm the piece. Keep it balanced.
- Rushing: Let each layer dry completely before adding more. Patience is key!
- Ignoring Scale: Make sure your design fits well in its intended space. A tiny detail might get lost on a large wall, for example.
Maintenance and Care
Your DIY wall art is an investment of time and effort, so it deserves proper care. Here’s how to keep it looking great:
- Dust Regularly: Use a soft cloth or microfiber duster to remove dust without scratching the surface.
- Avoid Moisture: Keep your artwork away from bathrooms or kitchens where humidity is high.
- Monitor for Wear: If you notice any peeling or fading, address it promptly with a touch-up.
Conclusion
DIY wall art is more than just a project—it’s a journey of creativity and self-expression. With the right tools and mindset, you can transform your space into something truly special. So grab your paints, gather your materials, and let your inner artist shine!


