✨ Master the Art of Contouring: A Step-by-Step Guide for Beginners ✨
Welcome to the world of contouring! If you’ve ever wondered how to create those perfectly defined cheekbones or a chiseled jawline, you’re in the right place. Contouring is all about enhancing your natural features and creating dimension, but it can feel overwhelming if you’re just starting out. Don’t worry—we’ve got you covered with this ultimate guide for beginners.
Why Should You Try Contouring?
Contouring isn’t just for Instagram-worthy makeup looks; it’s a powerful tool to define and enhance your face shape. Whether you’re aiming for a subtle, natural look or something more dramatic, contouring can help you achieve the desired effect. Here are some reasons why every beauty enthusiast should give it a try:
- Creates dimension and structure in your makeup.
- Helps balance out facial features for a more harmonious look.
- Adds depth to flat areas of the face, such as the cheeks or nose.
With the right products and techniques, contouring can be surprisingly simple. Let’s dive into what you need to get started.
The Essential Contouring Tools You Need
Before you start, it’s important to have the right tools in your kit. Here’s a list of must-haves for any contouring newbie:
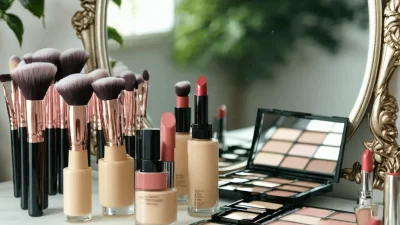
- Contour Palette: Look for a palette with shades that match your skin tone. A good contour palette should include both highlighter and bronzer shades to create contrast.
- Kabuki Brush: This fluffy brush is perfect for blending contour products seamlessly into the skin.
- Blush: Use a matching blush shade to add warmth and depth after contouring.
- Setting Spray: Lock in your look with a setting spray to ensure longevity.
If you’re on a budget, don’t worry—contouring can be done with just a few affordable products. Check out Makeup.com for some great options!
The Step-by-Step Contouring Process
Now that you have your tools, let’s walk through the contouring process step by step:
- Start with a Clean Canvas: Ensure your skin is clean and moisturized. Apply primer if desired to help your makeup stay put.
- Apply Foundation: Use a light layer of foundation that matches your skin tone. This will serve as the base for your contouring.
- Determine Your Face Shape: Before applying any product, take a moment to assess your face shape. This will help you decide where to place your contour and highlighter shades.
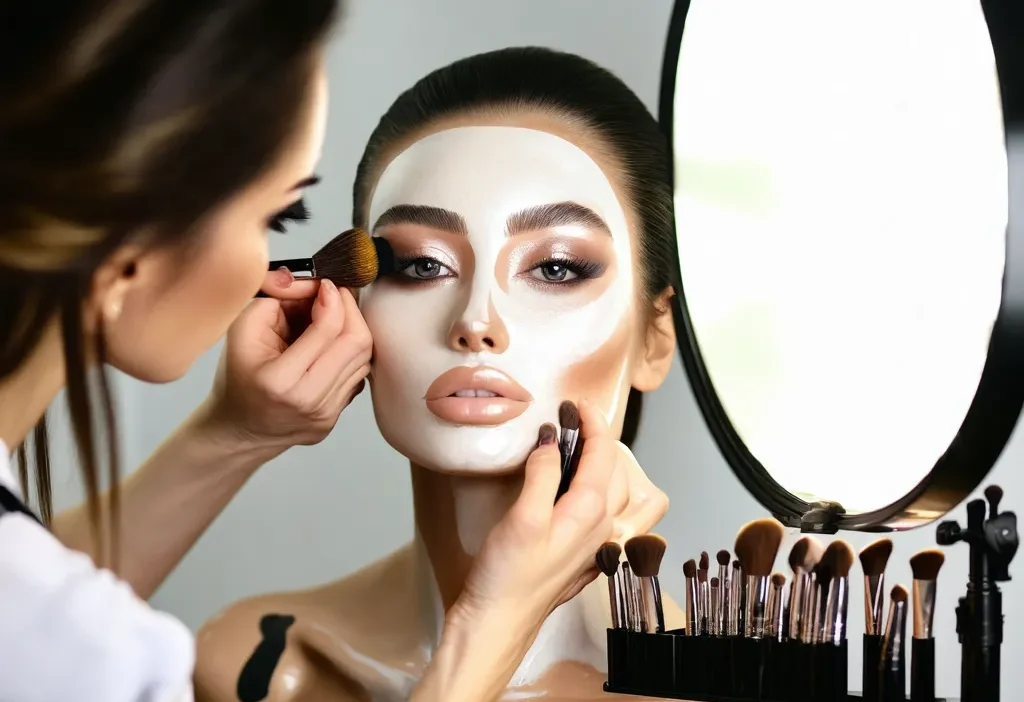
- Apply Contour Shade: Using a small brush or your fingers, apply the contour shade to areas you want to recede, such as the sides of your nose, under your cheekbones, and along your jawline. Blend well with a kabuki brush.
- Add Highlighter: Gently sweep a highlighter shade over areas you want to emphasize, like the high points of your cheeks, brow bone, and Cupid’s bow.
- Set with Blush: Add a touch of blush to blend in any harsh lines and add warmth to your look.
- Seal It In: Finish with a setting spray to keep everything in place throughout the day.
Remember, contouring is all about creating contrast. Don’t be afraid to experiment with different techniques and products until you find what works best for your unique face shape!
Tips for Contouring Success
To help you on your contouring journey, here are a few expert tips:
- Always blend, blend, blend! Harsh lines can make a look appear too dramatic.
- If you’re unsure where to place your contour, start with a light hand and build up as needed.
- Invest in a good quality brush—it makes all the difference when it comes to blending products seamlessly.
Contouring might seem intimidating at first, but with practice, you’ll become a pro in no time. Don’t be afraid to watch tutorials or seek inspiration from beauty influencers like RealSelf to refine your technique.
Common Contouring Mistakes to Avoid
Even the most experienced makeup artists make mistakes, so don’t get discouraged if things don’t go perfectly on your first try. Here are some common pitfalls to avoid:
- Over-Contouring: Too much contour can make you look unnatural. Start with a light hand and build up as needed.
- Using the Wrong Shade: Contour shades should be two to three shades darker than your skin tone, not jet black. Stick to shades that match your undertone for the most natural look.
- Skipping Blending: Proper blending is key to avoiding harsh lines and a cakey appearance.
By avoiding these mistakes and practicing regularly, you’ll be able to create stunning contouring looks that highlight your best features.
Conclusion: Embrace Your Natural Beauty with Contouring
Contouring is a fantastic way to enhance your natural beauty and create dimension in your makeup. With the right products, tools, and technique, you can achieve a polished, professional look that makes you feel confident and beautiful. Don’t be afraid to experiment and find what works best for your unique face shape—beauty is all about embracing who you are!
Now that you’ve mastered the basics of contouring, it’s time to step out and embrace your inner beauty queen. Remember, makeup is a fun way to express yourself, so enjoy the process and have fun with it!


