
Discover the Joy of DIY Soap Making
Making your own soap is a rewarding and creative endeavor that allows you to customize textures, scents, and colors. Whether you’re looking for a luxurious spa experience or simply want to reduce your environmental footprint, Diy soap making offers endless possibilities.
Why Make Soap at Home?
- Premium ingredients: Choose organic, sustainably sourced materials for a healthier option than store-bought soaps.
- Customization: Tailor scents, colors, and textures to suit your preferences.
- Cost-effective: Save money while creating personalized gifts or selling at craft fairs.
Soap making is an ancient art that combines science and creativity. Here’s how you can get started:
Necessary Tools and Ingredients
To begin, gather the following essentials:
- Fats or oils: Olive oil, coconut oil, or tallow are common choices.
- Lye (sodium hydroxide): Be cautious when handling; use protective gear and follow safety guidelines.
- Mold: Use silicone or plastic molds for easy soap removal.
- Essential oils: Add fragrance like lavender, tea tree, or citrus scents.
- Additives: Consider adding exfoliants like coffee grounds or oats for scrubbing soaps.
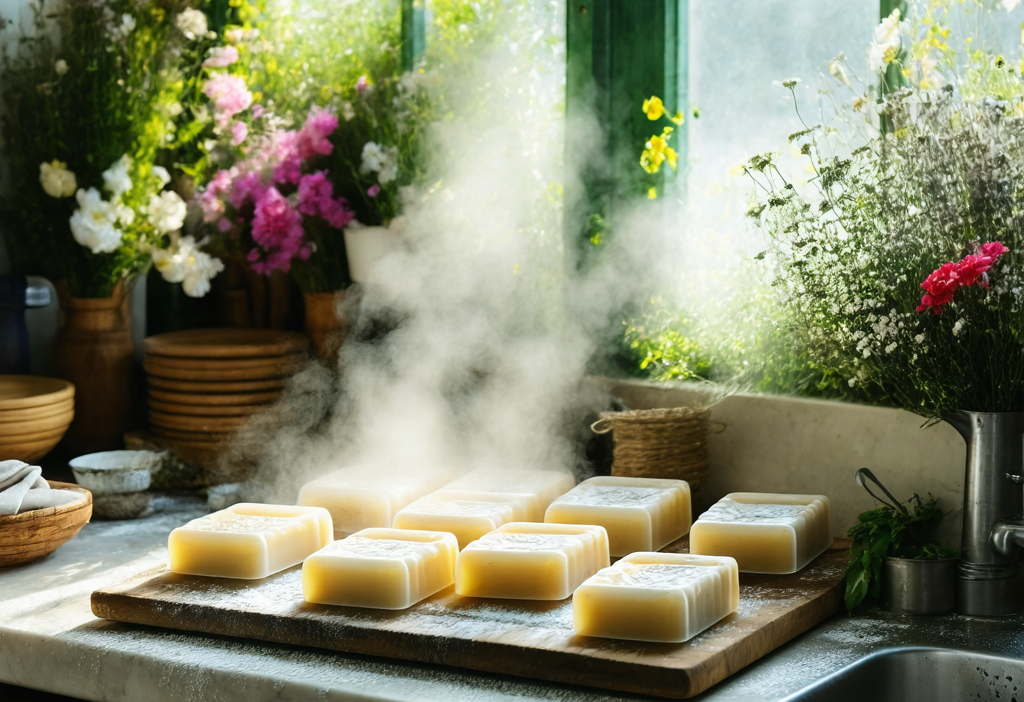
The Soap-Making Process
Soap making involves three main steps: mixing, pouring, and curing. Here’s a detailed breakdown:
- Mixing the ingredients: In a heat-safe container, combine oils and melted lye solution while stirring gently to avoid splashing.
- Pouring into molds: Once the mixture reaches trace (a slight thickness), add essential oils or additives before pouring into molds.
- Curing: Allow soap to harden in the mold for 24-48 hours, then cut into bars and cure for 4-6 weeks. This step ensures a longer-lasting bar.
For those who prefer a quicker method, cold process or melt-and-pour soap making kits are excellent alternatives that require less time and equipment.
Creative Customization Tips
Add a personal touch to your soap with these ideas:
- Incorporate natural dyes like spirulina for vibrant colors or use activated charcoal for detoxifying soaps.
- Embed herbs, flowers, or crystals into the soap for aesthetic appeal and added benefits.
- Create layered soaps by pouring different colored mixtures into molds one layer at a time.
For more inspiration, check out these creative designs on Etsy, where independent creators share unique soap-making techniques and ideas.
Safety First: Handling Lye
While soap making is fun, always prioritize safety:
- Work in a well-ventilated area to avoid inhaling lye fumes.
- Use protective gloves and goggles when handling lye or hot oils.
- Keep vinegar nearby to neutralize any accidental lye spills.
By following these guidelines, you’ll be able to create safe, high-quality soaps that are both functional and beautiful.
Selling Your Soap
Once you’ve mastered the basics, consider turning your hobby into a business. Platforms like Etsy or local farmers’ markets provide excellent opportunities to sell handmade soaps. Don’t forget to include creative packaging and branding that reflects your unique style.
Conclusion
Making soap at home is a fulfilling craft that combines creativity with practicality. By starting small, experimenting with different recipes, and prioritizing safety, you can create luxurious soaps tailored to your preferences or gift-giving needs. Happy crafting!