
Crafting Bliss: How to Make DIY Candles at Home
There’s something truly magical about creating your own DIY candles. It’s a relaxing hobby that allows you to express your creativity while filling your space with beautiful, handcrafted pieces. Whether you’re a seasoned craft enthusiast or just dipping your toes into DIY projects, candle-making is an accessible and rewarding activity. In this guide, we’ll walk you through everything you need to know to get started.
Why Make DIY Candles?
Making your own candles offers more than just a pretty centerpiece for your table. Here are some compelling reasons to give it a try:
- Personalization: Choose scents, colors, and shapes that reflect your personality or match your decor.
- Sustainability: Use eco-friendly materials and reduce waste by recycling old jars or containers.
- Cost-Effective: While initial supplies might cost a bit, you can save money in the long run compared to store-bought candles.
- Therapeutic: The process of candle-making is calming and can be a great stress-relief activity.
Getting Started: Essential Tools and Materials
Before you dive into candle-making, it’s important to gather the right tools. Here’s what you’ll need:
- Candle Wax: Choose between soy wax, paraffin wax, or beeswax based on your preference for eco-friendliness and texture.
- Wick: Select wicks appropriate for the size of your candle container. Options include cotton, zinc-core, or wooden wicks.
- Fragrance Oils: Add scents like vanilla, lavender, or citrus to create unique blends. Ensure you use oils safe for candles.
- Colorants: Optional but fun! Use dye chips or liquid colorants to customize your candle’s appearance.
- Molds and Containers: Glass jars, tins, or silicone molds are great options. Consider repurposing old containers for a sustainable twist.
- Double Boiler: Essential for melting wax safely without burning it.
- Thermometer: To monitor the temperature of your wax accurately.
- Parchment Paper or Non-Stick Mat: For placing wicks and drying candles properly.
You can find all these supplies at craft stores like Michaels or online shops such as Amazon.
Step-by-Step Guide to Making DIY Candles
Now that you have your supplies, let’s get started on crafting your very own candles!
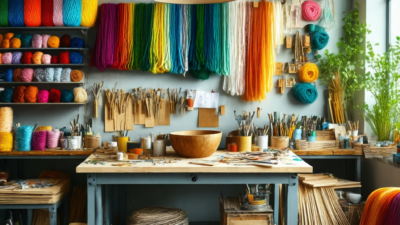
- Prepare Your Workspace: Cover your work area with newspaper or a drop cloth. Set up all your tools and materials within easy reach.
- Melt the Wax: Place your wax in a double boiler over low heat. Avoid using direct heat to prevent burning. Use a thermometer to monitor the temperature, which typically ranges between 160°F to 185°F depending on the type of wax.
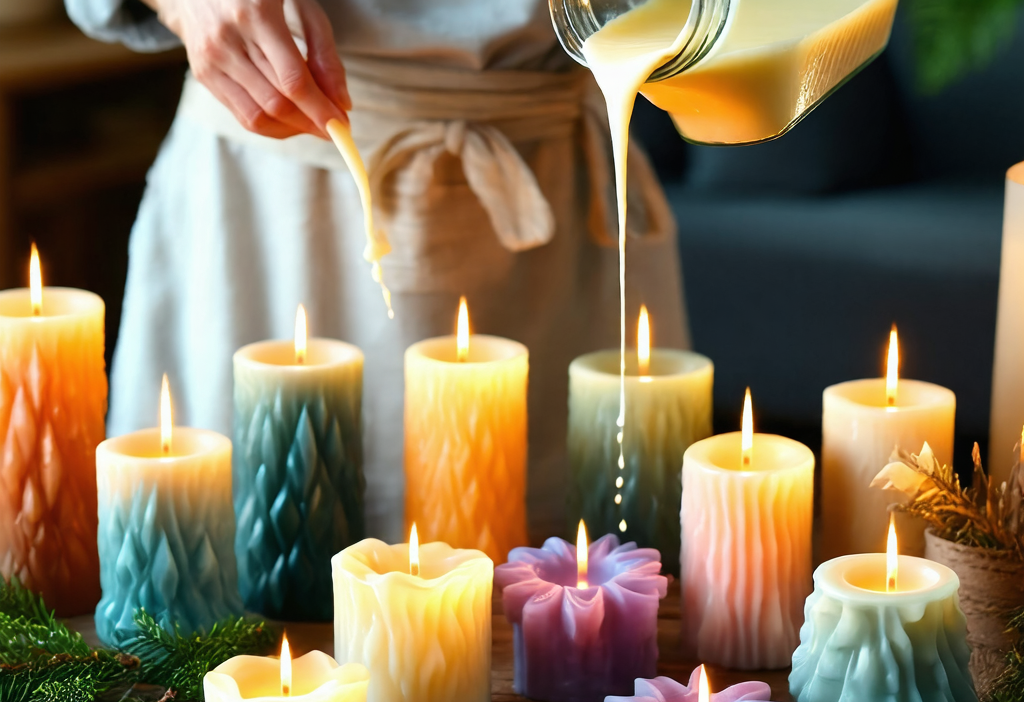
- Add Fragrance and Color: Once the wax is melted, remove it from heat slightly before reaching the desired temperature (usually around 135°F for soy wax). Stir in your fragrance oils and colorants slowly, mixing thoroughly to ensure even distribution. Be careful not to add too much fragrance, as this can weaken the wick or cause the candle to smoke.
- Pour into Containers: Carefully pour the melted wax into your prepared containers or molds. Leave a little space at the top for the wick and any expansion. Center the wick in the container, holding it upright until the wax hardens slightly.
- Let It Cool: Allow the candles to cool undisturbed for several hours until they harden completely. This can take anywhere from a few hours to overnight, depending on the size of your candle and the type of wax used.
- Clean Up: Once cooled, trim the wick to about 1/4 inch above the surface of the candle. Remove any residue or spills with a soft cloth. Your candles are now ready to enjoy!
Tips for Perfect Candles
Creating perfect DIY candles takes practice, but these tips will help you achieve professional-looking results:
- Temperature Control: Keep an eye on the wax temperature to prevent overheating or under-melting.
- Wick Placement: Ensure the wick is centered and straight throughout the cooling process. You can use a pencil or chopstick to hold it in place while the wax sets slightly.
- Avoid Over-Fragrancing: Stick to recommended fragrance oil ratios (usually between 5% to 10% of the wax weight) to maintain candle integrity and performance.
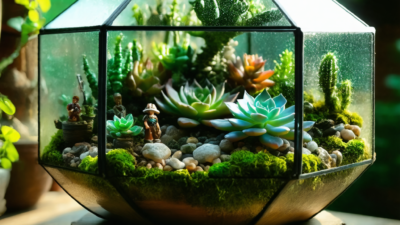
- Experiment with Shapes: Use silicone molds or repurposed containers to create unique shapes and designs. Don’t be afraid to get creative!
- Label Your Creations: If giving candles as gifts, include a label with the scent name, ingredients, and care instructions.
Candle-Making Safety Tips
While candle-making is a fun activity, it’s important to handle materials safely:
- Work in a Well-Ventilated Area: Avoid inhaling fumes from melting wax or fragrance oils.
- Use Heat-Resistant Containers: Never use plastic containers for melting wax, as they can melt or catch fire.
- Keep a Fire Extinguisher Nearby: Wax and heat are a recipe for potential火灾隐患,所以保持安全是首要任务。
- Supervise Kids and Pets: Ensure children and pets stay away from the workspace to avoid accidents.
Celebrating Your DIY Candle Success
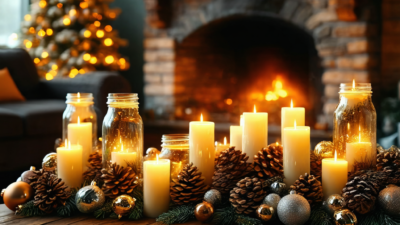
Once your candles are complete, take pride in your handiwork! These creations make wonderful gifts for loved ones or simply beautiful additions to your home decor. Consider hosting a candle-making party with friends or family to share the joy of crafting.
Remember, candle-making is as much about the process as it is about the final product. Enjoy the creative journey and don’t be afraid to experiment with different techniques, scents, and designs. Happy crafting!