Transform Old Furniture into Masterpieces: The Ultimate Upcycling Guide
Welcome to the world of upcycling, where old meets new and creativity knows no bounds! Tired of seeing those dusty, outdated pieces in your home? Fear not—this blog is your go-to guide for breathing new life into furniture that’s seen better days. Whether you’re a seasoned DIY enthusiast or just dipping your toes into the world of upcycling, we’ve got you covered with tips, tricks, and inspiration to get started.
Why Upcycle? A Sustainable Choice
Beyond just giving old furniture a fresh look, upcycling is about sustainability. It’s a powerful way to reduce waste and give new life to items that might otherwise end up in a landfill. Plus, it’s an excellent opportunity to customize pieces to fit your unique style and needs. Let’s dive into how you can turn those forgotten gems into showstoppers.
1. Assessing the Piece: What’s Salvageable?
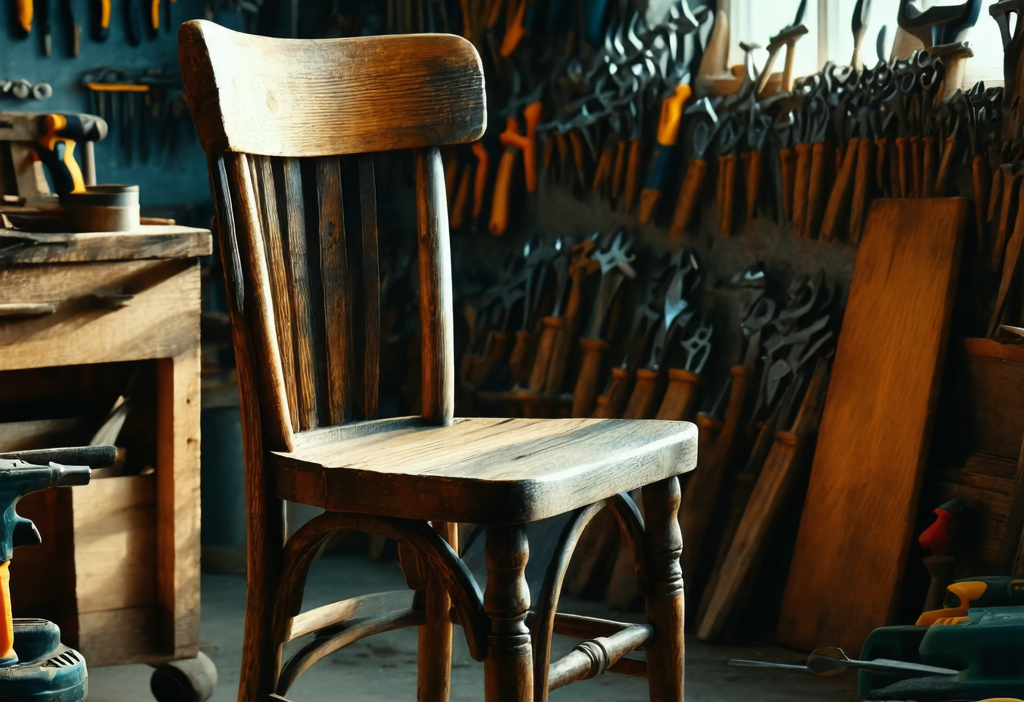
The first step in any upcycling project is evaluating what you have. Look for sturdy frames, unique details, or interesting shapes that can be transformed. Even if a piece looks worn out, its structure might still be sound. Here are some tips:
- Inspect the frame for stability—look for loose joints or wobbly legs.
- Check the upholstery or fabric for tears that can’t be easily repaired.
- Look for hidden gems like carved details or hardware that can be restored.
Pro Tip: If a piece has sentimental value, consider preserving its history through small design elements like keeping original hardware or adding a vintage-inspired touch.
2. Gather Your Tools and Materials
Before diving in, make sure you have everything you need. Here’s a quick list of essentials:
- Sanding tools: From sandpaper to electric Sanders for smoothing surfaces.
- Paints and finishes: Opt for eco-friendly options like water-based paints or natural oils.
- Craft supplies: Fabric, decorative trims, stencils, and more.
- Basic tools: Screwdrivers, measuring tapes, clamps, and safety gear like goggles and masks.
TIP: Don’t forget to protect your workspace with drop cloths or old sheets to keep the area clean.
3. Upcycling Techniques for Every Style
Ready to get creative? Here are some popular upcycling techniques tailored to different styles:
a) The Rustic Makeover
Add a touch of rustic charm by distressing the wood. Use sandpaper or a wire brush to create a weathered look. Finish with a coat of wax for a vintage feel.
b) Bold Colors and Patterns
Transform a dull piece into a statement by painting it in vibrant colors or adding decorative stencils. Pair with contrasting upholstery or fabric for an eclectic vibe.
c) Industrial Chic
Give your furniture a rugged, industrial look by exposing the wood grain and adding metal accents like bolts or brackets. A dark stain finish ties everything together.
4. Ensuring Longevity
Your upcycled piece deserves to last! Follow these tips to ensure it stands the test of time:
- Seal It Properly: After painting or staining, apply a protective finish like polyurethane to prevent wear and tear.
- Maintain Regular Care: Dust regularly and avoid placing the piece in areas with direct sunlight to prevent fading.
5. Show Off Your Creations
Now that you’ve transformed your furniture, it’s time to showcase your work! Display your upcycled pieces as focal points in your home or even consider selling them at local markets or online platforms like Etsy.
Conclusion: Start Your Upcycling Journey Today
Upcycling is more than just a DIY project—it’s a lifestyle choice that values creativity, sustainability, and individuality. With the right tools, techniques, and mindset, you can create stunning pieces that reflect your personal style while contributing to a greener planet.
Your Turn: Have you tried upcycling furniture before? Share your favorite projects or tips in the comments below!
About the Author
Sarah is a passionate DIY enthusiast and sustainability advocate. She believes that creativity and eco-friendliness go hand in hand, and she’s always on the lookout for unique ways to repurpose old items into something new and beautiful.


