

Introduction
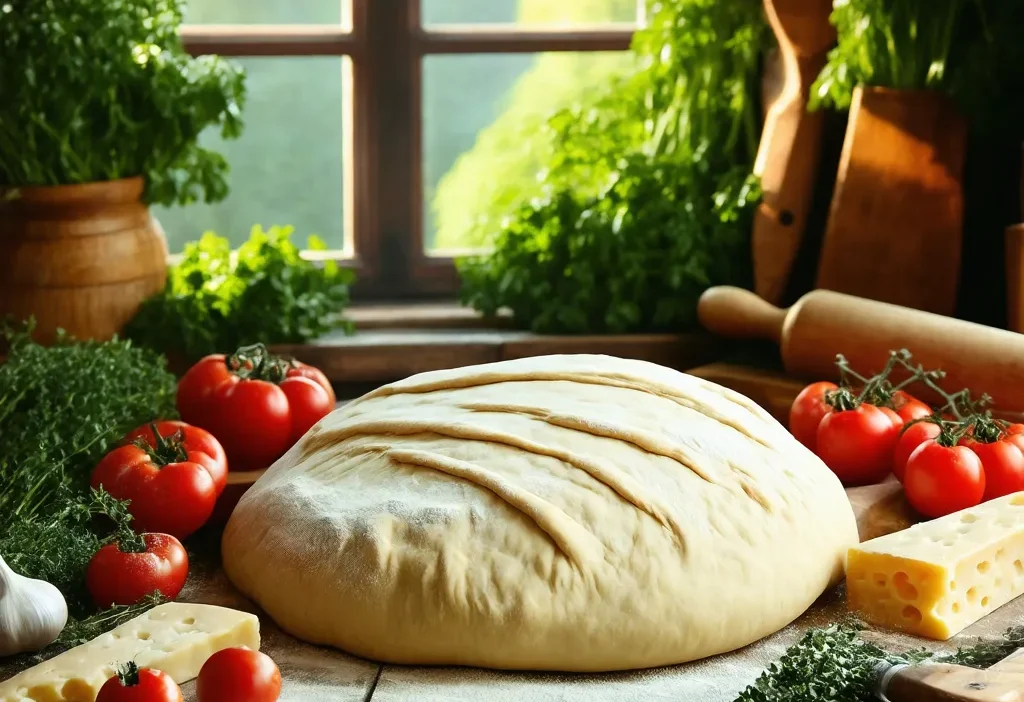
There’s something magical about the aroma of fresh homemade pizza dough wafting through your kitchen. It’s a simple pleasure that brings people together, whether it’s for a family dinner or a casual get-together with friends. But let’s be honest—making pizza dough can sometimes feel like a bit of a challenge. Whether you’re a seasoned home cook or a novice in the kitchen, achieving that perfect crust can seem daunting.
Why Homemade Pizza Dough?
Before we dive into the nitty-gritty of making your own pizza dough, let’s talk about why it’s worth the effort. Store-bought dough might be convenient, but nothing beats the taste and texture of a homemade crust. It’s lighter, crispier, and has that perfect balance of chewiness that you just can’t get from store-bought options.
Plus, making your own dough gives you complete control over the ingredients. You can customize it to suit your dietary needs—whether you’re gluten-free, vegan, or simply want to experiment with different flavors. It’s also a great way to use up leftover ingredients in your fridge, like stale bread or sourdough starter.
The Science Behind Perfect Dough
Before we get into the recipe, let’s take a quick look at the science behind pizza dough. At its core, pizza dough is a simple mixture of flour, water, yeast, and salt. But it’s the interaction between these ingredients that creates that perfect texture.
- Flour: The type of flour you use plays a big role in the final product. Bread flour has more gluten than all-purpose flour, which gives your dough its elasticity and chewiness.
- Yeast: This is what makes your dough rise. Active dry yeast or instant yeast are both great options for pizza dough.
- Salt: Salt not only enhances the flavor but also helps regulate the fermentation process, preventing the dough from rising too quickly and losing its structure.
- Water: The water content affects the texture of your dough. Too much water will make it too wet and sticky, while too little will result in a dry, crumbly dough.
Now that we’ve covered the basics, let’s get into the step-by-step process of making perfect homemade pizza dough.
Step 1: Gather Your Ingredients
Before you start, make sure you have all your ingredients on hand. Here’s what you’ll need:
- 3 cups of bread flour (or all-purpose flour if you don’t have bread flour)
- 1 packet of active dry yeast
- 1 ½ teaspoons of salt
- 1 ¼ cups of warm water
- 1 tablespoon of olive oil (optional, but it adds flavor and helps the dough stretch)
Step 2: Activate the Yeast
One of the keys to perfect pizza dough is properly activating the yeast. If the yeast isn’t activated correctly, your dough won’t rise properly.
- In a small bowl, mix together the warm water and sugar. The water should be warm but not hot—around 110°F (43°C) is ideal. Too hot, and you’ll kill the yeast; too cold, and it won’t activate properly.
- Add the active dry yeast to the water and stir gently. Let it sit for about 5-10 minutes until it becomes frothy and bubbly. This means the yeast is alive and ready to work its magic!
Step 3: Mix the Dough
Now that your yeast is activated, it’s time to mix everything together.
- In a large mixing bowl, combine the flour and salt. Make sure to measure your flour accurately—too much flour can make the dough too dense.
- Add the yeast mixture and olive oil (if using) to the dry ingredients. Mix everything together until it forms a rough dough.
Step 4: Knead the Dough
Kneading is where the magic happens. It’s what develops the gluten in the dough, giving it that perfect chewy texture.
- Turn the dough out onto a lightly floured surface and knead for about 8-10 minutes. The dough should become smooth, elastic, and just slightly tacky to the touch.
- If the dough is too sticky, add a little more flour; if it’s too dry, add a splash of water.
Step 5: Let It Rise
After kneading, the dough needs to rise. This is where patience pays off—letting the dough rise properly ensures that your pizza has that perfect light and airy crust.
- Place the dough in a lightly oiled bowl, cover it with plastic wrap or a clean kitchen towel, and let it sit in a warm place for about 1-2 hours. The dough should double in size during this time.
- If you’re short on time, you can speed up the process by placing the dough near a warm oven or using an instant rise yeast. But if you have the time, let it rise slowly for best results.
Step 6: Shape and Bake
Once your dough has risen, it’s time to shape it into your desired pizzas and bake them off.
- Punch down the dough to release any excess air bubbles. This step prevents your pizza from having large holes in the crust.
- Divide the dough into portions (depending on how many pizzas you want) and shape each portion into a ball.
- Let the shaped dough rest for about 10-15 minutes. This step is optional but helps relax the gluten, making it easier to stretch and roll out the dough.
Now you’re ready to roll out your pizza dough! Roll it into your desired shape, add your toppings, and bake in a preheated oven at 475°F (240°C) for about 12-15 minutes or until the crust is golden brown and the cheese is bubbly.
Tips for Perfect Homemade Pizza Dough
Making perfect pizza dough isn’t just about following a recipe—it’s also about understanding the process and being willing to experiment. Here are a few tips to help you achieve the best results:
- Use warm water: The temperature of your water is crucial. If it’s too hot, you’ll kill the yeast; if it’s too cold, the yeast won’t activate properly.
- Let it rise properly: Resist the urge to rush the rising process. Letting the dough rise slowly gives it time to develop flavor and texture.
- Dust with flour: If your dough is too sticky, don’t be afraid to dust it with a little extra flour as you work with it.
- Handle gently: Once the dough has risen, handle it gently to avoid deflating it too much. A little air in the dough is what gives your pizza that light and airy crust.
Conclusion
Making homemade pizza dough might seem like a bit of work at first, but with a little practice, you’ll be turning out restaurant-quality pizzas in no time. Remember to be patient, trust the process, and don’t be afraid to experiment with different recipes and techniques until you find the perfect one for your taste buds.
Now that you’ve got the basics down, why not try experimenting with different types of flour, adding herbs or spices to the dough, or even making stuffed crust pizzas? The possibilities are endless!
Bon appétit! Happy pizza making!