

Transform Your Space with DIY Floating Shelves
Floating shelves are a fantastic way to add functionality and style to any room. Whether you’re looking to organize your space or simply want to display decorative items, these sleek and modern shelves can be a game-changer. In this guide, we’ll walk you through everything you need to know to create your own DIY floating shelves from scratch.
Why Floating Shelves?
Floating shelves offer several advantages over traditional bookshelves or storage units:
- Space-saving design: They don’t require floor space, making them perfect for small rooms.
- Versatile installation: Can be placed in hallways, living rooms, kitchens, or bathrooms.
- Enhanced aesthetics: Add a modern touch to your decor without overwhelming the room.
- Cost-effective: DIY projects can save money compared to store-bought options.
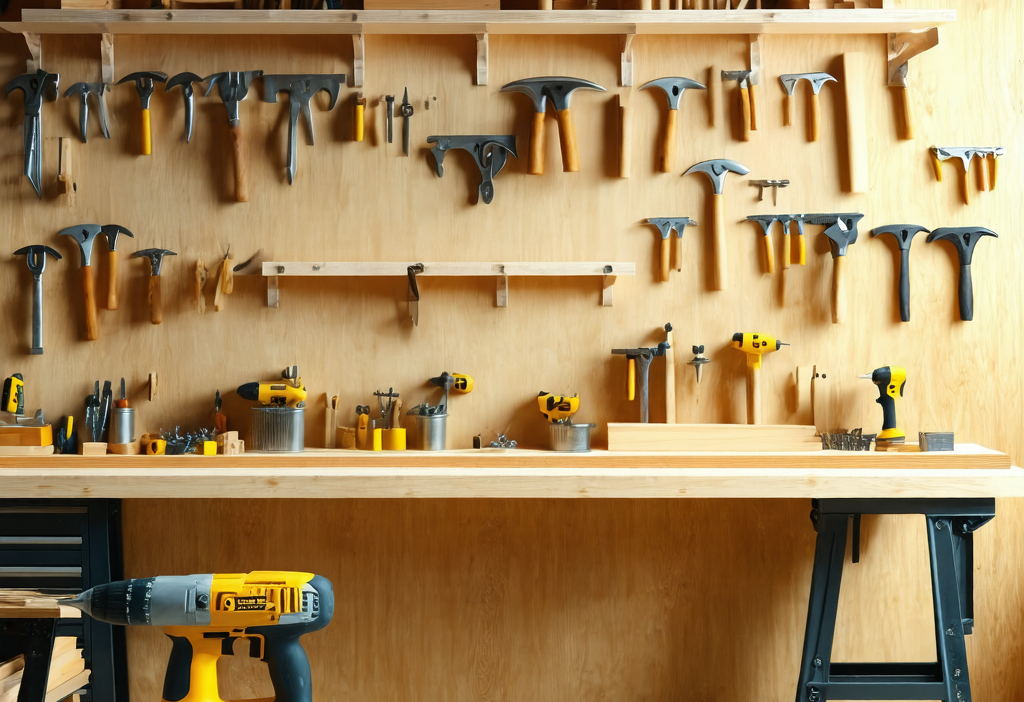
Tools and Materials You’ll Need
To get started, gather these essential items:
- Wood planks (depending on desired size)
- Screws and brackets for support
- Saw or jigsaw
- Sandpaper
- Drill and drill bits
- Miter saw
- Measuring tape
- Clamps
- Wood filler (optional)
- Paint or stain
For a more polished look, consider using wood glue and finishing nails. You can find all these items at your local hardware store like Home Depot.
Step-by-Step Installation Guide
Follow these steps to install your floating shelves:
- Measure and Plan: Determine where you want the shelves and measure the width. Decide on the spacing between shelves for a balanced look.
- Cut the Wood: Using a saw, cut the wood planks to your desired length. Sand the edges for smoothness.
- Mark the Wall: Use a measuring tape and pencil to mark where the brackets will go. Ensure they’re level by using a spirit level.
- Drill Holes: Drill pilot holes into the wall at each marked spot for screws. This prevents splitting the wood.
- Install Brackets: Attach the brackets to the wall using screws. Double-check that they’re level and evenly spaced.
- Add Wood Planks: Place the wood planks onto the brackets, ensuring they fit snugly. Use clamps to hold them in place while drilling through the plank into the brackets.
- Secure with Screws: Drill screws through the planks into the brackets for a sturdy hold.
- Sand and Finish: Sand any rough edges and apply paint or stain to match your decor. Allow it to dry completely before use.
Tips for a Perfect Installation
Ensure success with these tips:
- Always wear safety gear like goggles and gloves.
- Use a spirit level to keep shelves straight and aligned.
- If you’re unsure about drilling into walls, consider consulting a professional or using anchors for added support.
Creative Design Ideas
Floating shelves offer endless customization options:
- Stack them vertically for a built-in bookcase effect.
- Add LED strip lighting under the shelves for ambiance.
- Paint or stain to complement your room’s color scheme.
- Use decorative brackets to add a unique touch.
Frequently Asked Questions
Q: How much weight can floating shelves hold?
A: This depends on the materials used and installation. For light items like books or decor, standard brackets are sufficient. Avoid placing heavy appliances unless specifically designed for it.
Q: Can I install them myself?
A: Absolutely! With basic DIY skills and tools, you can handle the project. Just take your time to measure carefully and follow instructions.
Conclusion
Floating shelves are an excellent way to enhance any room’s functionality and style. By following this guide, you’ll be able to create custom shelves that suit your needs perfectly. So grab your tools and let’s get started on transforming your space today!