

The Secret to Flawlessly Flaky Pie Crust
There’s something magical about biting into a perfectly flaky pie crust. It’s the kind of moment that makes you rethink your life choices—because clearly, you should have been baking pies all along. But let’s face it: getting that golden, buttery, melt-in-your-mouth texture isn’t always easy. Whether you’re a seasoned baker or just dipping your toes into the world of pastries, this guide will help you master the art of making flaky pie crusts like a pro.
Understanding the Science Behind Flakiness
To create that elusive flaky texture, it’s crucial to understand the science behind what makes pie dough behave the way it does. Pie crust is all about layers—layers of butter or fat and layers of dough. When these layers are evenly distributed, you get that sought-after flakiness. But how do you achieve this? Let’s break it down.
Key Ingredients for Perfect Pie Crust
- Butter: The star of the show! Cold butter is key because it creates air pockets as it melts, giving that flaky texture. Never use softened butter—always keep it cold until you’re ready to roll.
- All-Purpose Flour: Provides structure and stability. Make sure it’s at room temperature for even distribution.
- Salt: Enhances the flavor of the dough without making it overly salty. Don’t skip this—it’s essential!
- Cold Water: Brings everything together and helps create those all-important layers. Use ice water for best results.
Step-by-Step Guide to Making Flaky Pie Crust
- Cut the butter into small cubes: Make sure it’s cold and cut into even pieces. This ensures even distribution throughout the dough.
- Combine dry ingredients: In a large bowl, whisk together flour and salt until well combined. Add the butter and toss to coat each piece of butter with flour. This step is crucial for preventing the butter from melting too quickly during mixing.
- Cut in the butter: Using a pastry blender or your fingers, work the butter into the flour mixture until it resembles coarse crumbs. Be careful not to overwork it—stop when there are still some pea-sized pieces of butter left.
- Add cold water: Gradually pour in ice-cold water while stirring with a fork. Stop adding water once the dough starts coming together. Overworking the dough will lead to tough crust, so handle it gently.
- Knead just enough: Turn the dough out onto a lightly floured surface and knead until smooth, about 10 times. Over-kneading will activate gluten and make the crust tough.
- Chill the dough: Wrap the dough in plastic wrap and refrigerate for at least an hour. This allows the butter to re-solidify and relaxes the gluten, resulting in a flakier texture.
Tips for Rolling Out Perfect Pie Crust
Rolling out pie dough can be tricky, but with these tips, you’ll have perfectly shaped crusts every time:
- Keep things cold: Work in a cool environment and keep your rolling pin and surfaces lightly floured to prevent sticking.
- Roll from the center: Start rolling from the center of the dough and work outward, rotating the dough frequently to ensure even thickness. Use a bench scraper to lift and turn the dough as needed.
- Don’t over-roll: Avoid rolling back and forth repeatedly, which can toughen the dough. Instead, roll in one direction until you achieve the desired shape and size.
- Trim with care: Once your dough is rolled out to the desired size (about an inch larger than your pie plate), gently lift it onto the plate. Trim any excess dough with a sharp knife or kitchen scissors, then flute the edges for that classic finish.
Common Mistakes to Avoid
Making perfect pie crust isn’t just about following a recipe—it’s also about avoiding common pitfalls. Here are some mistakes to steer clear of:
- Using warm butter: Always use cold butter. If it starts to soften during mixing, pop the bowl in the fridge for a few minutes to firm it up again.
- Overworking the dough: Handle the dough gently. Over-mixing or over-kneading will result in a tough crust.
- Not chilling the dough: Skipping this step can lead to a greasy, tough crust. Chill it for at least an hour—two is even better if time permits.
- Using too much flour: While it’s tempting to add more flour to prevent sticking, it will make your crust dry and crumbly. Use just enough to keep things from getting sticky.
Creative Pie Crust Ideas
Once you’ve mastered the basics, there’s no limit to what you can do with pie crust. Get creative with these fun ideas:
- Sweet or savory fillings: Don’t stick to just apples and berries—try sausage, mushrooms, or even cheese for a delicious twist.
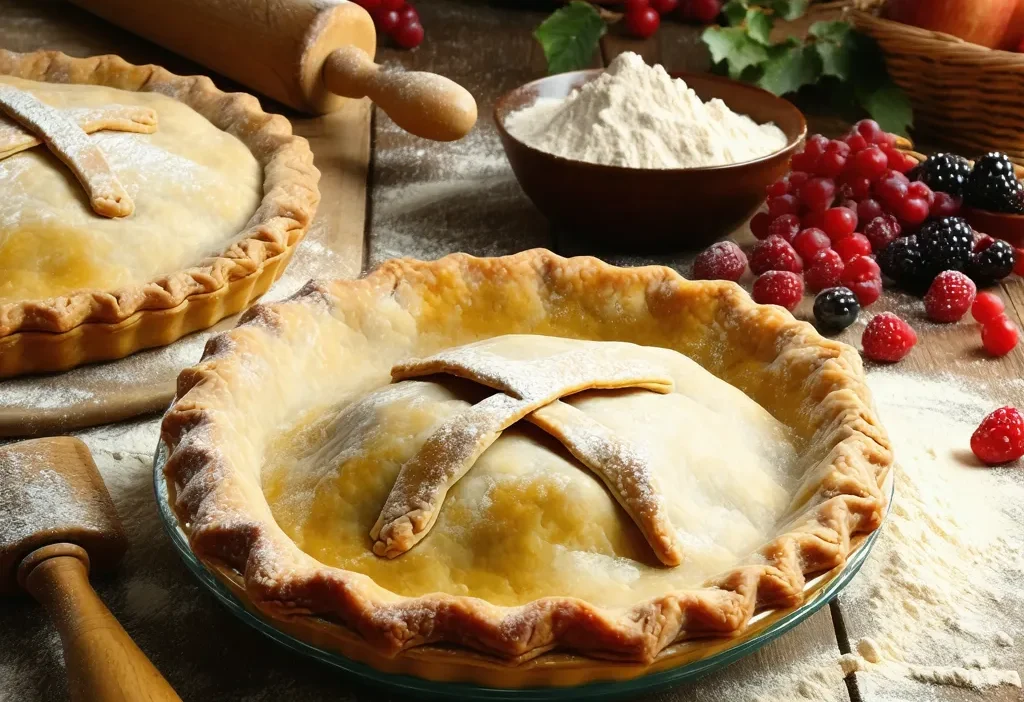
- Lattice tops: Create a beautiful lattice pattern by cutting strips of dough and weaving them over the filling. Brush with egg wash for a golden finish.
- Cheesecakes: Use pie crust as a base for cheesecakes or other desserts—it adds that perfect crunch factor!
Bonus Tip: Reusing Scraps
Don’t toss those leftover dough scraps! They’re perfect for making cute little tartlets, crumbles, or even pie crust cookies. Simply roll out the scraps and cut into shapes using cookie cutters—your inner child will thank you.
Final Thoughts
Making a flaky pie crust is an art that takes practice to perfect, but with these tips and tricks, you’ll be well on your way. Remember: patience is key. Keep practicing, and soon you’ll be the go-to person for pies at family gatherings. And hey, if all else fails, there’s always store-bought dough—but don’t tell anyone we said that!
Now go forth and bake those pies like a pro—your taste buds (and your guests) will thank you!