How to Create the Perfect Winged Eyeliner Look
Winged eyeliner is a classic beauty statement that can elevate any makeup look from ordinary to extraordinary. Whether you’re aiming for a subtle日常 or a bold, dramatic effect, mastering winged eyeliner is a skill worth learning. In this comprehensive guide, we’ll walk you through the steps to create the perfect winged eyeliner look, tailored to suit different eye shapes and preferences.
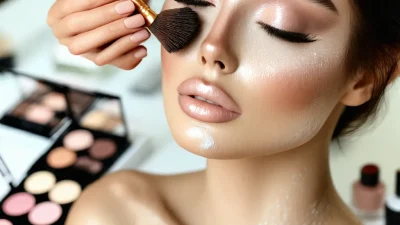
Essential Tools You’ll Need
To achieve a flawless winged eyeliner, having the right tools is essential. Here’s what you’ll need:
- Eyeliner pencil or liquid liner – Opt for a high-quality product that glides on smoothly and stays put.
- Eyeshadow brush – A small, angled brush is perfect for blending and creating sharp lines.
- Mirror – Ensure you have good lighting to see every detail as you work.
- Pencil or marker – For drawing precise guidelines.
- Eyelash curler – To enhance your lashes before applying liner.
- Mascara – To complete the look with defined, fluttering lashes.
Step-by-Step Guide to Winged Eyeliner
Follow these steps for a perfect winged eyeliner every time:
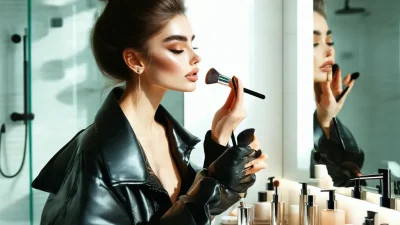
- Prep Your Eyes
Start by cleansing your face and applying primer to ensure your makeup stays in place. Use an eyelash curler to lift your lashes, making them more defined.
- DRAW THE BASE LINE
Using a pencil or marker, draw a thin line along your lash line from the inner corner to the outer edge of your eye. This serves as your guide for consistency.
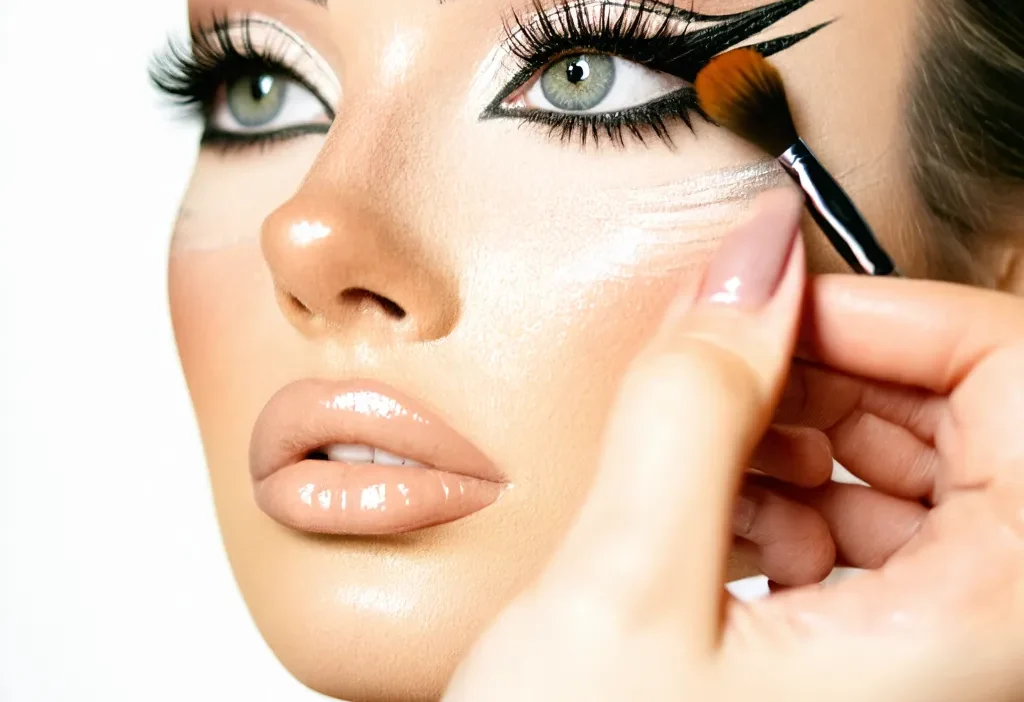
- CREATE THE WING
From the outer corner of your eye, extend the line outward at an angle to form the wing. The width and angle depend on your desired look – sharper for a dramatic effect, softer for everyday wear.
- CONNECT AND FILL IN
Connect the tip of the wing back to the base line, then fill in the area between them. Use short, steady strokes for precision and avoid rushing to prevent smudging.
- ADD DRAMA (OPTIONAL)
For a bolder look, darken the liner or add texture with a smudged effect using your finger or brush.
- CLEAN UP MISTAKES
If you make any mistakes, use a q-tip dipped in makeup remover to clean up and reapply as needed. Precision is key for a polished look.
- SET WITH MAKEUP
To set your liner and ensure it lasts all day, lightly dust translucent powder over the area with a small brush. Finish by applying mascara to enhance your lashes and complete the look.
Tips for Different Eye Shapes
Winged eyeliner can be adapted to flatter various eye shapes:
- Almond eyes: Create a balanced wing that mirrors the natural curve of your eyes.
- Round eyes: Extend the wing slightly longer for a more elongated effect.
- Close-set eyes: Draw wings outward to create the illusion of space.
- Downturned eyes: Use a higher angle on the wing to lift and open up the eye appearance.
Common Mistakes to Avoid
Avoid these pitfalls for a flawless finish:
- Rushing: Take your time to ensure precision, especially when drawing the wing and connecting lines.
- Poor Lighting: Work in good lighting to see details clearly and avoid uneven application.
- Overlinering: Less is more; start light and build up as needed. You can always darken later but it’s harder to fix overdone liner.
Conclusion
Mastery of winged eyeliner takes practice, so don’t be discouraged by initial attempts. With patience and the right tools, you’ll soon achieve that perfect wing every time. Whether it’s for a night out or everyday elegance, winged eyeliner is a versatile beauty essential that can transform your look instantly.
Remember, beauty is about confidence and expression. Embrace experimentation and have fun creating your signature winged eyeliner style!