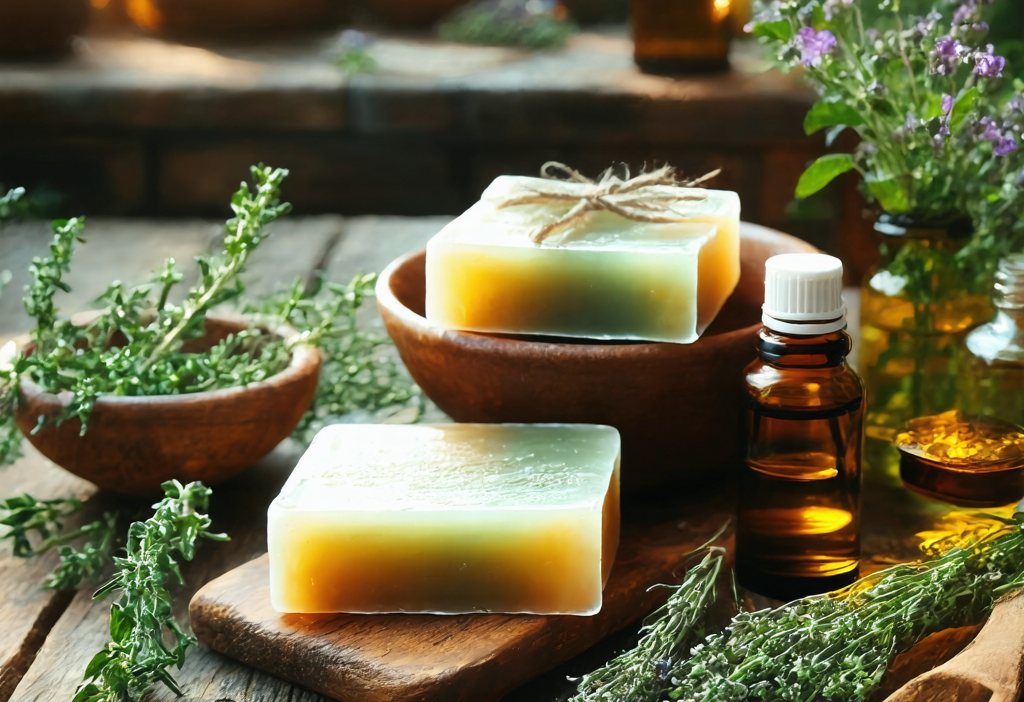
DIY Natural Soap Making: A Step-by-Step Guide for Beginners
Making your own natural soap at home is a rewarding and fun project that allows you to create customized skincare products. Whether you’re looking to avoid harsh chemicals or simply enjoy crafting, this guide will walk you through the process of making your own DIY natural soap.
Why Choose Natural Soap?
Natural soaps are free from synthetic ingredients and artificial fragrances, making them a healthier choice for your skin. They are also eco-friendly and can be made with sustainable practices. Plus, crafting your own soap is a creative outlet that lets you experiment with scents, colors, and textures.
Benefits of Making Natural Soap
- No synthetic chemicals
- Customizable for different skin types
- Eco-friendly and sustainable
- Creative and enjoyable process
Materials You’ll Need
Before you start, gather these essential materials:
- Lye (sodium hydroxide)
- Pure vegetable oils (olive oil, coconut oil)
- Distilled water
- Mold for shaping the soap
- Gloves and safety goggles
- Essential oils for scent
- Herbs or natural colorants (optional)
Step-by-Step Guide
Making soap involves a few key steps. Here’s how to do it safely and effectively:
1. Safety First
Protect yourself with gloves, goggles, and long sleeves. Lye can be dangerous if mishandled.
2. Prepare the Lye Solution
In a heat-safe container, carefully mix lye into distilled water following the recommended ratio (usually 1 part lye to 2 parts water). Stir until dissolved and let it cool slightly.
3. Melt the Oils
Melt your chosen vegetable oils in a double boiler or microwave-safe bowl. Combine them with the cooled lye solution in a large mixing container.
4. Trace
Using an immersion blender, mix until the mixture thickens and forms a ‘trace’ (like pudding consistency). Add essential oils, herbs, or colorants at this stage.
5. Pour into Mold
Pour the soap batter into your prepared mold. Tap gently to remove air bubbles and let it sit undisturbed for 24-48 hours until hard.
6. Unmold and Cut
Once hardened, unmold and cut the soap into bars. Let them cure in a cool, dry place for 4-6 weeks to allow the lye to fully saponify, creating a milder bar.
Tips for Success
- Always work in a well-ventilated area when handling lye.
- Use precise measurements to ensure proper saponification.
- Experiment with different oils and scents to customize your soap.
Making your own natural soap is an empowering way to take control of your skincare routine. With these simple steps, you can create a product that’s both gentle and effective, perfect for everyday use or as thoughtful gifts. Happy crafting!


