
Transform Your Space: Creative DIY Furniture Makeovers
Welcome to the world of DIY furniture makeovers, where old meets new and creativity knows no bounds! If you’ve ever stumbled upon a piece of furniture that’s seen better days but has potential lurking beneath its worn surface, this guide is for you. Whether you’re looking to refresh your living room, revamp your bedroom, or give your workspace a fresh start, these ideas will inspire you to breathe new life into your belongings.
Why DIY Furniture Makeovers?
In today’s fast-paced world, where everything seems disposable, upcycling furniture is more than just a trend—it’s a movement. By transforming old or thrifted pieces, you’re not only saving money but also reducing waste and contributing to a sustainable lifestyle. Plus, there’s nothing quite as rewarding as creating something beautiful with your own hands.
1. Assessing Your Pieces
Before diving into any project, it’s essential to evaluate the furniture you’re working with. Ask yourself:
- Is the piece structurally sound?
- What is its current condition—stains, scratches, or dents?
- Does it fit your style and space?
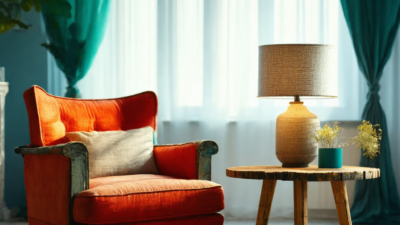
TIP: If a piece has sentimental value, consider how you can preserve that while updating its look. For example, reupholstering an old chair with vibrant fabric can give it new life without losing its charm.
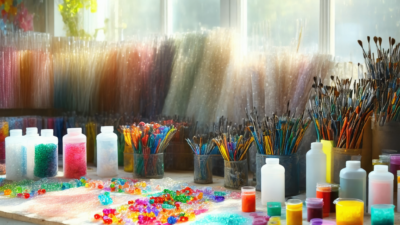
2. Choosing the Right Materials
When it comes to materials, the sky’s the limit! Here are some popular choices:
- Wood: Reclaimed wood is a favorite for its unique character and eco-friendly appeal.
- Metal: Rusty metal can be stripped and painted to create an industrial look.
- Glass: Adding glass elements can bring in natural light and modernize any piece.
TIP: Don’t forget about paint! A fresh coat of paint can completely transform a tired-looking piece. Consider using chalk paint for an elegant, rustic finish or high-gloss paint for a bold statement.
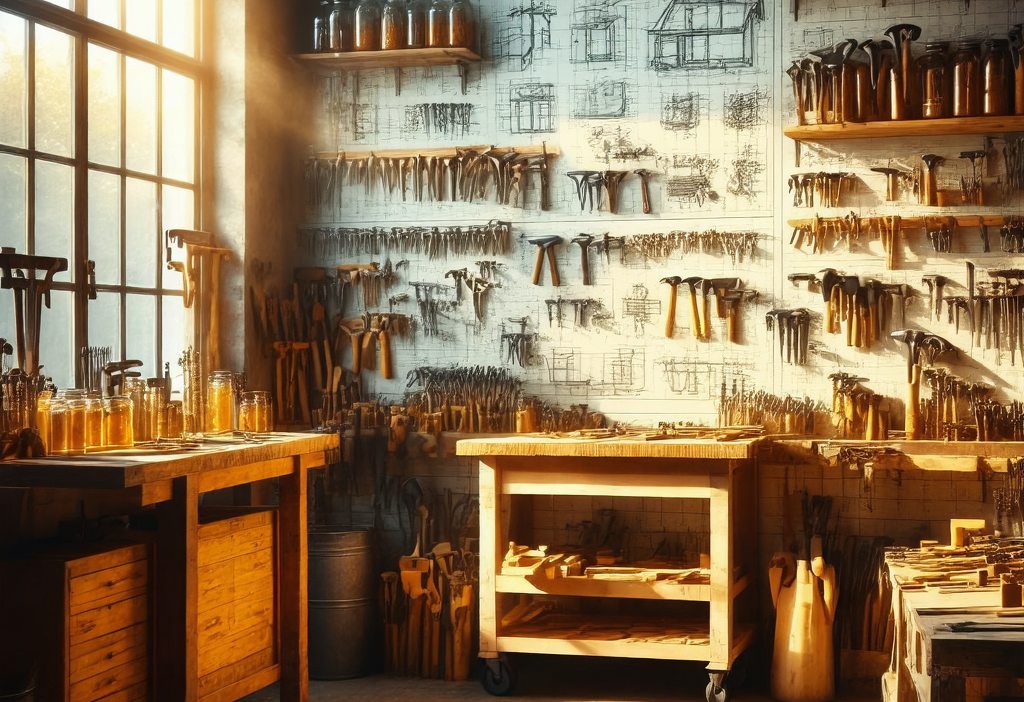
3. Essential Tools for Your DIY Workshop
To get started, you’ll need some basic tools:
- Sanding block and sandpaper
- Paintbrushes or rollers
- Tape measure
- Cling film for masking
- Wood filler or putty
- Varnish or polyurethane
TIP: Invest in a good quality paintbrush—it makes all the difference in achieving smooth, professional-looking results.
4. Step-by-Step Guide to Refurbishing Furniture
1. Clean and Prep: Start by cleaning your furniture thoroughly. Use mild soap and water for wooden surfaces or a wire brush for metal pieces. Remove any old finishes if necessary.
2. Sanding: Sand down rough edges and areas that need smoothing. This step ensures an even surface for paint or stain.
3. Patching and Repairing: Fill in any holes or dents with wood filler. Let it dry completely before sanding again.
4. Painting or Staining: Apply your chosen finish evenly, using thin coats for better coverage. Allow each coat to dry as per the product instructions.
5. Varnishing: For added protection and a glossy finish, apply a clear varnish or polyurethane once the paint is completely dry.
5. Inspiration Ideas
Looking for some creative ideas? Here are a few:
- Bistro Table Makeover: Transform an outdated table by adding a marble-look tabletop and gold leaf accents.
- Shabby Chic Chair: Repaint an old dining chair in a soft pastel color and add nailhead trim for a touch of elegance.
- Industrial Coffee Table: Strip down a metal table, repaint it black, and top it with a reclaimed wood surface.
TIP: Don’t be afraid to mix styles! Combining a modern chair with a vintage sideboard can create an eclectic, eye-catching display.
6. Where to Find Inspiration
If you’re ever stuck for ideas, turn to these resources:
- DIY Blogs: Websites like DIY Network and HGTV are treasure troves of creative ideas.
- Social Media: Platforms like Pinterest and Instagram are perfect for visual inspiration. Follow hashtags like #DIYFurniture or #UpcyclingIdeas to stay updated.
- Your Local Thrift Store: Sometimes, the best ideas come from stumbling upon unique pieces that spark your creativity.
TIP: Keep a journal or digital folder of inspiring images. This way, you’ll always have a reference point when planning your next project.
7. Conclusion
DIY furniture makeovers are a fantastic way to refresh your space without breaking the bank. By upcycling old pieces, you’re not only saving money but also contributing to a more sustainable lifestyle. Whether you’re a seasoned DIYer or just starting out, there’s always something new to learn and create. So why not give it a try? Your home—and the planet—will thank you!
Happy crafting!